Getting Started with VisWiz.io
What is VisWiz.io?
VisWiz.io is a visual regression testing tool. It is designed to analyze and report any visual differences in your project on any changes. It does this by integrating with your automated testing process.
Integrate VisWiz.io in your project
Integrating your project with VisWiz.io is easily achieved using the following steps, with an account on our platform.
Setting up API / SDK
To start integrating VisWiz.io, you need to use our SDK or our API directly. For either of these, you need an API key to authenticate yourself.
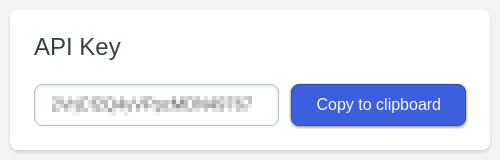
You can find your API key on the Account page from our web application. Go to the Account page and copy your API key value:
API
We expose a REST API for all of our resources and actions. You can access the API from your favorite platform or programming language. For more information, please read our API Documentation.
CLI
We offer a simple to use CLI with pre-built binaries for all OS. You can use this to create builds and send images for your project.
SDK
We also offer a fully-fledged SDK for Node.js. For more information, please read our Node.js SDK Documentation.
Create a project
To continue with VisWiz.io, you will setup your project in our system. Your account can have multiple projects.
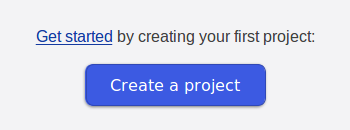
The simplest way to create a project is by using our web application. Go to the Projects page and click the Create a project button:
An alternative way to add a project is using our SDK or API.
You will need your project ID to interact with it. You can find your new project ID in the web application when you navigate to the project's page, in the left sidebar. Alternatively you can find the project ID from the API.
Capture screenshots
Most UI testing frameworks (e.g. Puppeteer, Selenium, Capybara) support capturing screenshots of the current page being tested. You'll need to add these framework commands in your tests to capture screenshots. The amount or the type of screenshots depends on your project's requirements - feel free to add as many or as few as you want.
Send build info to VisWiz.io
Once you have the actual screenshots from your tests, you can send them to VisWiz.io via our CLI (the easiest way), SDK (see sample code below) or API.
For more in depth code samples, follow our tutorials: Puppeteer and Jest tutorial or Storybook tutorial.
Notifications
When a build is finished and all images have been compared, notifications with the build results are sent. By default, email notifications are sent out for new projects.
Email and Slack
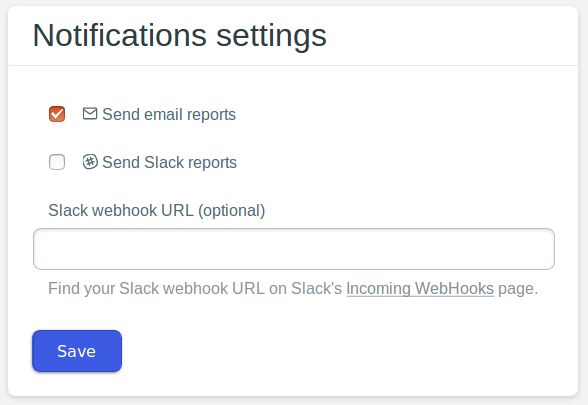
Each project can have its own notifications configuration. Choose to receive either email reports or Slack reports or even both.
Webhooks
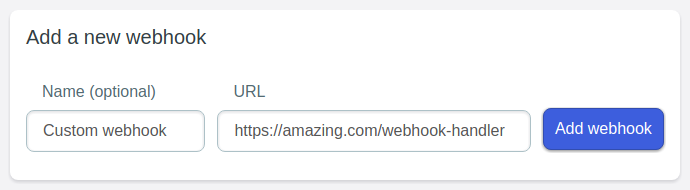
You can define a global list of webhook URLs for the whole account. The simplest way to add a webhook is by using our web application. Go to the Account section and choose Webhooks:
An alternative way to configure project notifications or webhooks is using our SDK or API.
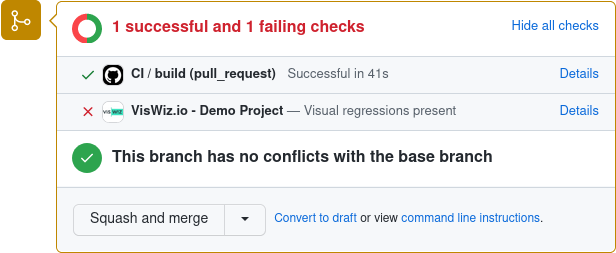
Github
You can install our Github app to get notified about visual regressions directly in your pull requests. For more information, read our Github guide.
Interactive sample code
You can run the following code here to see how easy it is to work with our Node.js SDK:
The following code requires a valid VisWiz API key. When you create an account, your API key will be auto filled-in here.
The following code uses your real VisWiz API key, so all the actions are performed on your account.
After running the sample code, open your Projects page to see the new project.
Remember that using our CLI is easier than using the sample code above.

Copyright © 2017-2026 VisWiz.io